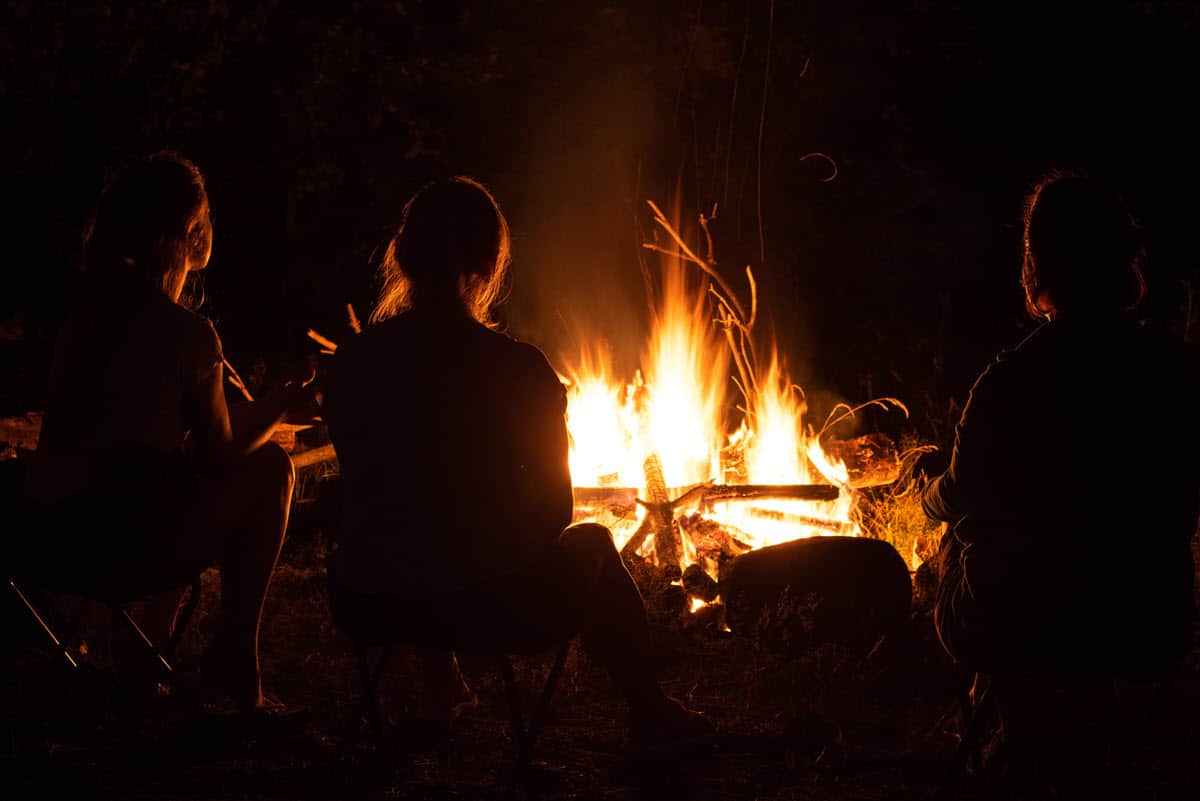
Let’s face it. The only thing cooler than hanging out with your buddies by the campfire you built with your bare hands is telling them you know how to start a fire without matches or a lighter.
Not to mention that knowing how to make fire without matches in the woods has always been and continues to be an essential survival skill that could save your life or the life of someone you love.
Here’s what you’ll learn by reading this article.
Key Takeaways
- The Basics of Fire Starting: Fire requires three essential elements: heat, fuel, and oxygen. The heat can be generated through various methods, fuel can be any combustible material, and oxygen is available in the air.
- Materials Needed: To start a fire without matches or a lighter, you need an ignition source, tinder, and other combustible materials. The ignition source can be anything from friction-based methods to using a battery and steel wool. Tinder can be dry, flammable grass, pine needles, moss, or plant fiber. Kindling and larger chunks of dry wood serve as fuel.
- Friction-Based Fire Starting: The article explains several friction-based methods of starting a fire, including using a spindle and fireboard, a bow drill, and a fire plow. These methods all rely on creating heat through friction, igniting the tinder.
- Alternative Fire Starting Methods: The article also explores other methods of starting a fire, such as using flint and steel, a battery and steel wool, lenses (like a magnifying glass), a soda can and chocolate bar, a fire piston, and a Ferro Rod. Each of these methods has its unique advantages and challenges.
Today, we have a variety of handy fire-starting tools, such as lighters, waterproof matches, stormproof matches, and strike-anywhere matches (it’s starting to sound like that guy from Forrest Gump describing all the types of shrimp he’d make if he owned his own restaurant). I think you get the idea.
However, you may find yourself in an emergency where your survival depends on starting a fire in the wild… and you find yourself without matches or a lighter. When faced with such a situation, you are probably going to need a fire. Without a fire, your chances of survival can diminish, especially once the sun goes down and it starts getting cold, dark and wet, so you should always have a fire starter kit in your bag.
Not all survival skills are about surviving in the wilderness, you should also think about survival prep at home. See our Foods That Last a Long Time for more information.
Even though you’re probably reading this in the comfort and safety of your home, it’s good to be prepared (and that’s probably why the Boy Scouts’ motto is Be Prepared).
Tip: If you don’t know how to build a campfire, then check out our How To Build A Campfire post for step-by-step instructions. And if you’d really like to impress your friends with your superior survival skills, then check out our step-by-step how to make a homemade torch guide.
So, here’s what you need to know about starting a fire without matches.
The most basic rule of starting a fire is that fire requires heat, fuel, and oxygen to get going… and keep going.
Table of Contents
- The Science Behind Fire
- Gathering The Required Fire-starting Tools and Materials
- How To Make Fire With Sticks
- Common Mistakes and How to Avoid Them
- Nurturing the Spark: Tips for Growing Your Fire
- Final Thoughts
- FAQs
- What are the essential elements required to start a fire?
- What materials are needed to start a fire without matches?
- What is the role of friction in starting a fire?
- How can a battery and steel wool be used to start a fire?
- Can a lens be used to start a fire?
- What is a fire piston and how does it work?
- What is a Ferro Rod and how is it used to start a fire?
- How can a magnifying glass be used to start a fire?
- What is a tinder nest, and how do you use it to start a fire?
- Can a fire really be started using a soda can and a chocolate bar?
- What is a bow drill?
The Science Behind Fire
Starting a fire without tools involves using natural or improvised methods to generate heat through friction, sunlight concentration, or chemical reactions.
Fire is a chemical reaction known as combustion. It occurs when a material (in this case, your tinder, kindling, or fuel) combines with oxygen in the air and is heated to its ignition temperature. This reaction releases heat, light, and various gases, creating the flames we see.
The heat of the fire sustains the reaction by keeping the material at or above its ignition temperature, allowing it to continue combining with oxygen. This is why a fire will go out if it’s not kept hot enough or if its oxygen supply is cut off.
Understanding this process can help you start and maintain a fire more effectively. For example, it underscores the importance of using dry materials (which reach their ignition temperature more easily) and ensuring your fire is well-ventilated (so it has a steady oxygen supply).
Quick Tip: You’ll be less likely to need this article if you know How To Refill Butane Lighters
Gathering The Required Fire-starting Tools and Materials
The tools and materials you need to start a fire without matches or a lighter can vary depending on your chosen method. However, there are some common elements you’ll need regardless of the method:
Tinder: This material will catch your initial spark and start your fire. It needs to be dry and highly combustible. Good natural tinder sources include dry grass, moss, pine needles, and bark shavings.
Kindling: Add kindling to grow the fire once your tinder is lit. Kindling should be small, dry sticks or twigs. They should be larger than your tinder but smaller than your main fuel source.
Fuel: This larger wood will keep your fire going once it’s established. Fuel should be dry and can be larger logs or branches.
Ignition Source: You’ll use this to create your initial spark or heat. The ignition source will vary depending on your method.
Tip: Fatwood is our favorite type of kindling. If you don’t know what Fatwood is, be sure to check out our what is Fatwood FAQ page.
Tips for gathering the required materials
- Areas protected from wetness offer the best chance of finding dry wood. If the location is damp, check the interior of logs and under ledges when trying to gather dry wood.
- Not all types of wood to start a fire ignite the same. Some trees will catch fire more readily than others. For example, paper birch produces paper-like bark that can be an excellent tinder even when wet. The availability of some trees will often depend on the locality. So know your trees as best as you can.
- Fire-starting is often taught as a necessary survival tool for life in the wilderness but this skill can come in handy even in an urban setting. Unfortunately, trees might not be as available in an urban area, in which case you may have to adapt. Consider using things like old furniture and books to get a fire started.
- A trustworthy hatchet will make your life easier when it comes gathering your fire starting materials.
How To Make Fire With Sticks
When it comes to starting a fire without matches or a lighter, there are several methods to choose from, each with its own advantages and disadvantages.
Friction-based methods, such as the bow drill or fire plow, are primitive yet effective. They require minimal tools, but they do demand a significant amount of effort and practice. These methods are best suited for situations where you have plenty of time and energy.
Flint and steel is a classic method that’s reliable and relatively easy to use, but it does require you to carry these specific tools with you.
Battery and steel wool are quick and effective methods, but they depend on having these items on hand, which may not always be the case in a survival situation.
Lens-based methods, like using a magnifying glass or a polished soda can, are simple and effective, but they rely on sunny weather.
Each method has its place, and the best one for you depends on your specific situation and the resources at hand.
Let’s take a closer look at these fire-starting methods.
1. Spindle And Fireboard
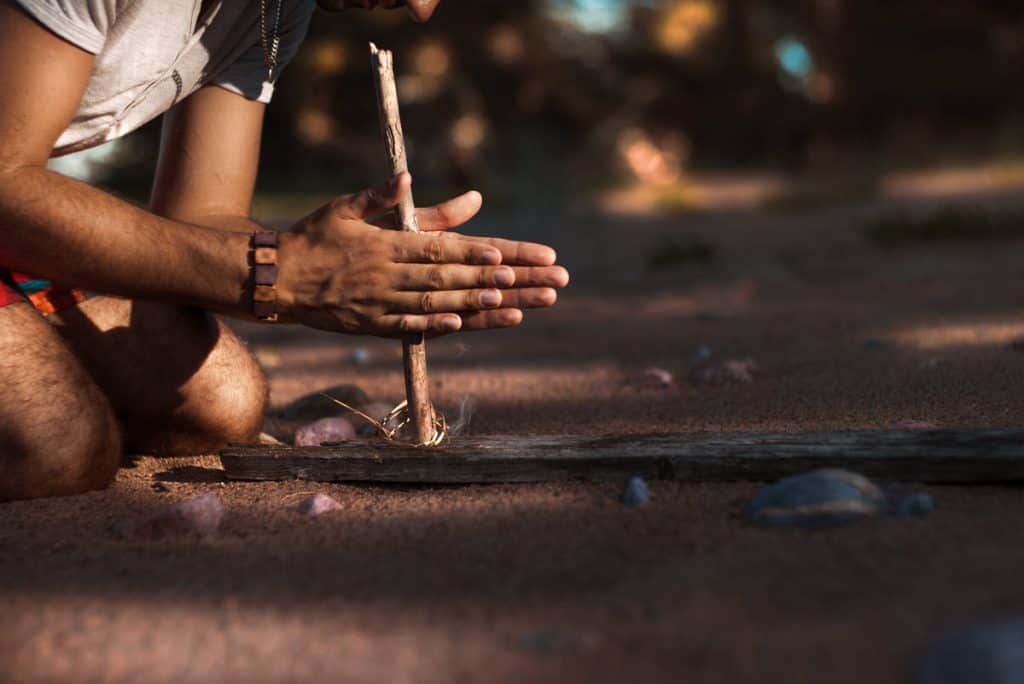
Learning how to start a fire with just wood can by tricky and involve a lot of manual labor.
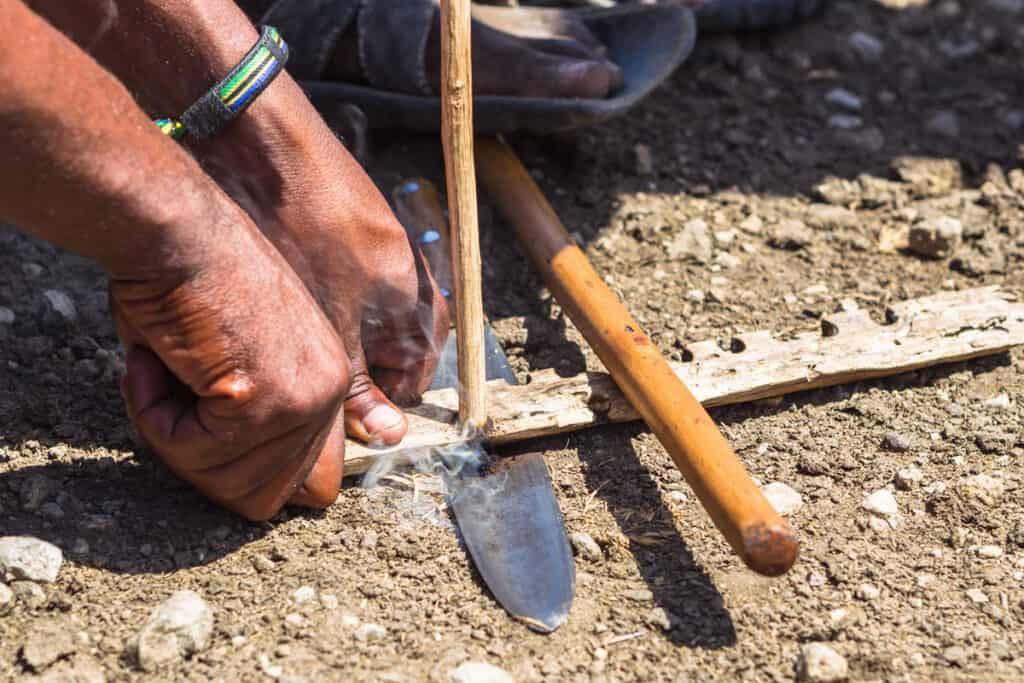
Because of the risks involved, friction-based methods of starting a fire without matches are not for the faint-hearted. Compared to the other methods, starting a fire with sticks is probably the hardest. Friction can be used in different ways to make a fire.
Even so, the type of wood used for both the spindle and fireboard remains the most crucial aspect. You will spin the spindle against your fireboard to create friction. When enough friction is generated between the spindle and fireboard, sparks or embers can be created.
These embers can then be nurtured into a flame. Walnut, cottonwood, willow, juniper, cedar, cypress, and aspen are the best types of wood for spindle and fireboard sets. Regardless of the species, only bone-dry wood can be used to start a friction-based fire. So make sure you gather and use dry wood to make fire.
Using a hand drill to start a fire is the most primitive, difficult, and tiresome method. Therefore, effort and determination are necessities.
• Build a tinder nest using dry, combustible plant material. Again, make sure the material can catch fire easily. Dry leaves, grass, and bark are good options. You will use this tinder nest to nurture the sparks created into a flame. Tip: Consider using a magnesium fire starter to add some magnesium shavings to your tinder nest.
• You’ll need a piece of dry wood to serve as your hand drill’s base. This wood piece is what we call a fireboard and you’ll drill on it to create friction.
• With the help of a sharp knife-like object, cut a small, V-shaped notch into the fire board. Make the depression big enough to hold your spindle.
• Place pieces of bark next to your V-shaped depression. The bark is meant to catch the sparks created by the spindle’s friction with the fire board.
• Place your spindle stick into the V-shaped depression you made on your fireboard. For this to work properly, you’ll need a spindle that’s about half an inch in diameter and two feet long.
• Hold the spindle between your palms, pushing it firmly against the board. Make sure you maintain the pressure as you begin to move your hands back and forth, one after the other. This motion should effectively roll the spindle. Continue to roll the spindle as fast as you can until ember forms.
• Tap the fireboard to drop the glowing ember onto the piece of bark and then transfer this to your tinder nest. Blow on the tinder nest gently to create a flame. It might take a while or several tries to start a fire.
2. Bow Drill
To start a fire with a bow drill, you must create friction by maintaining constant pressure and speed. The bow drill technique makes this much easier.
You’ll need a bow, socket, fire board, and spindle.
• Find a heavy piece of wood or a stone to use as the socket, which you will use to put pressure on the rotating spindle. Wood with sap allows for better lubrication of the socket.
• Use a long, slightly curved or flexible piece of wood to make your bow. It should be about the length of your arm. Use any strong, abrasive material capable of withstanding lots of friction to make your bowstring. You can use a strip of rawhide, a thin rope or string, or your shoelace. String your bow as tight as possible, using grooves or notches to anchor the string.
• Prepare your fire board and place your tinder nest next to the V-shaped notch.
• Loop the bowstring around your spindle once. Doing so in the middle of the string will provide more space for rolling the string back and forth.
• Place the pointed end of your spindle stick in the V-shaped notch and use the socket to apply pressure on the other end. Hold the bow handle with your dominant hand. Start to saw back and forth, rotating the spindle as fast as possible. Keep sawing until the friction creates an ember.
• Drop the ember into your tinder nest and blow on it gently to create a flame. Add dry kindling to the flame to get your fire going.
Here’s a video showing you how to make a bow drill, spindle and fireboard and how to use them to start a fire:
3. Fire Plow (Fire Plough)
Here’s how to start a fire with a fire plow:
- Cut a groove into your fireboard and whittle one end of your spindle stick
- Place your tinder nest at the furthest end of the fireboard. In this way, you will plow embers into the tinder nest as you rub the spindle against the fire board.
- Place the whittled tip of your spindle into the track in your fire board. Rub it up and down the groove repeatedly. The faster you rub, the more friction you’ll create.
- Blow on the embers gently to get the fire going (once your tinder nest catches an ember).
Here’s a video that demonstrates how to use a fire plow:
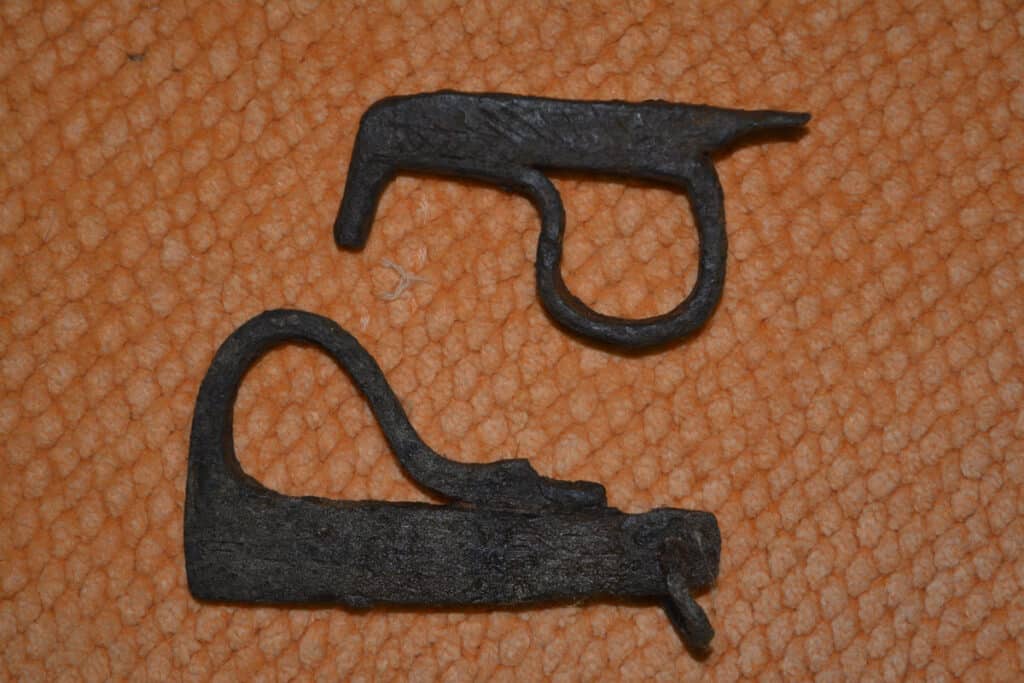
4. Flint and Steel
Using flint and steel to start a fire is a great option, even under the most adverse weather conditions, because you can always get a spark from putting steel to flint rock. Plus, if you don’t have a flint and steel set on hand, you can always improvise by using a knife and a piece of quartzite to create a spark.
In addition to the tinder nest, you’ll also need char, which is easily combustible charcoal made from cloth. Once char catches a spark, it will continue to smolder without bursting into flames. But if you do not have any char, lightweight tree fungus or birch will do just fine. Make sure you use dry plant material to build your tinder nest.
• Hold your flint between thumb and forefinger, allowing two or three inches of the rock to extend past your grasp.
• With the piece of char held between your thumb and the flint, scrape your knife’s steel blade against the flint.
• The sparks that fly off should land on the flint, resulting in a glow.
• Fold the glowing char cloth into your tinder nest and blow on it gently to induce a flame.
Here’s a quick video that discusses how to choose the best flint and steel:
You could also learn how to use a magnesium fire starter, which is similar to flint and steel.
5. Battery and Steel Wool
Here’s how starting a battery with steel wool works:
Rubbing steel wool with a battery generates a current through the small steel wires, and these will, in turn, heat up and ignite. Finer steel wool works best for this process. You can also rub a metal paperclip against the terminals of a battery to create sparks. This process works the same way the wires in toaster ovens and light bulbs work.
Here’s how to start a fire with a battery and steel wool:
You’ll need a tinder nest to start a fire with a battery and steel wool. Use dry plant material for the tinder nest.
- Build your tinder nest out of dry grass, dried-out pine needles, moss, plant fiber, a Uberleben Tinder Wick, or even cotton ball fire starters smeared with vaseline or petroleum jelly.
- Grab a battery and some steel wool. Any battery will work but 9-volt batteries are likely to ignite the quickest.
- With the battery in one hand and steel wool in the other, rub the steel wool against the battery terminals to create friction.
- As the steel wool starts to glow, blow on it gently to nurture the flame.
- Transfer the burning steel wool to your tinder nest. Don’t waste any time because the flame will extinguish quickly.
- Keep blowing until the tinder ignites and add larger pieces of dry kindling to build the fire.
Lenses can be used to start a fire in several different ways. The only drawback to using a lens is that this technique can only work when you have sun. Here’s a look at a few of these methods.
6. Magnifying Glass
You can use many different types of lenses to start a fire with a magnifying glass, including eyeglasses and binocular lenses. To create a fire using this technique, you will need enough sunlight. So make sure the sun is unobstructed. You can also intensify the beam of light by adding water to the lens.
• Use dry plant material to build a tinder nest and place it on the ground.
• Tilt the lens toward the sun to focus a small light beam on the tinder nest. To create the most focused light beam possible, you’ll probably have to test different angles of holding the lens.
• Once you’ve achieved the best possible angle, hold the lens in place until your tinder nest starts to smoke and glow. Blow on it gently to nurture the flame.
• Add some dry kindling to your tinder nest and you’ll soon have yourself a fire.
7. Aluminum Van and A Chocolate Bar
I know this one sounds like one of the craziest ways to start a fire without matches, but I’ve seen it done on YouTube multiple times.
Here’s how it works:
Use the chocolate to polish the bottom of your soda can. You can make chocolate shine like a mirror by rubbing chocolate onto the bottom of your soda can. Toothpaste has the same effect and can be used instead of chocolate.
• Angle the bottom of your soda can towards the sun to create a highly focused light beam. Sunlight will reflect off this newly created parabolic mirror, forming a single focal point in the same way a mirror telescope works.
• Aim the ray of light at your tinder nest and you will have a flame within seconds.
8. Fire Piston
A fire piston is a reliable fire-starting tool that’s been in use for thousands of years. It’s a very simple device that uses nothing other than hot air and some tinder to start a fire. Here’s an article that’ll tell you everything you need to know about fire pistons… including teaching you how to use a fire piston, step-by-step.
9. Ferro Rod (Ferrocerium Rod)
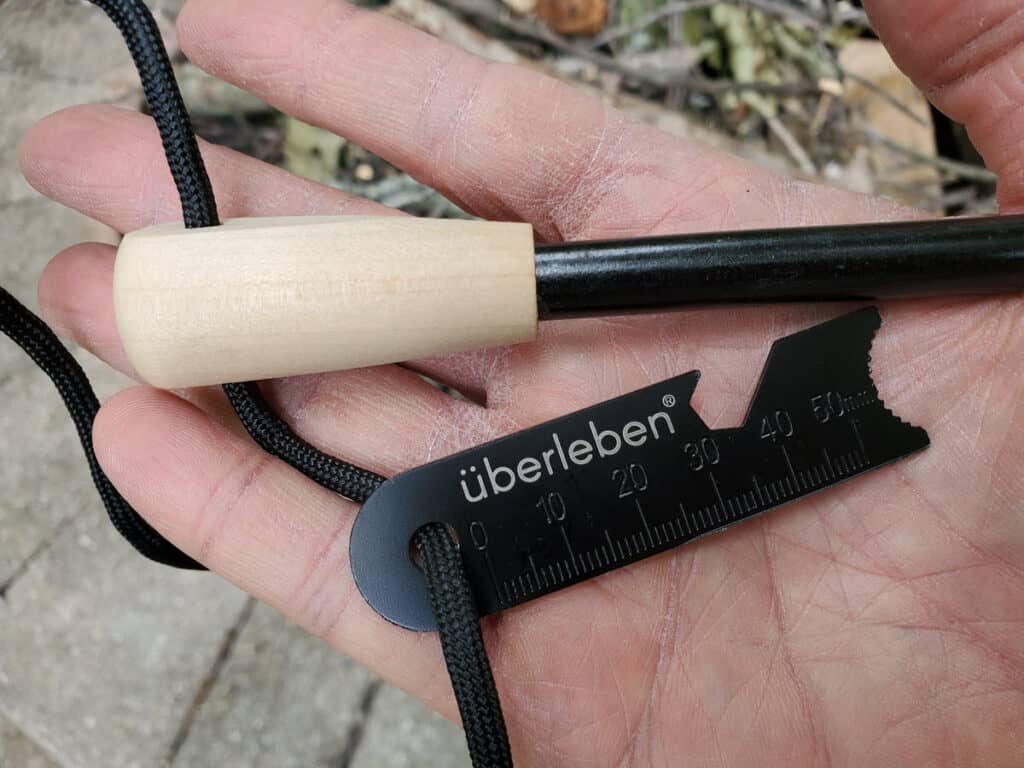
Check out our complete guide to the best ferro rods, which includes a tutorial on how to start a fire without matches by using a Ferro Rod… the right way.
| Method | Pros | Cons |
|---|---|---|
| Lighters | – Easy to use – just flick and light – Compact and lightweight – Can be used repeatedly until out of fuel | – Relies on fuel which will eventually run out – Not very windproof – Can break rendering it useless |
| Matches | – Simple and intuitive to use – Very lightweight and portable – Waterproof matches are available | – Limited quantity, will get used up – Easily blown out by wind – Regular matches susceptible to moisture |
| Ferrocerium Rod | – Lasts for thousands of strikes – Works when wet – Produces very hot sparks | – Requires proper technique – Slower than lighters or matches – Requires dry tinder to catch sparks |
| Magnifying Glass | – No consumable fuel required – Unlikely to break – Useful for other purposes like starting signal fires | – Only works with bright direct sunlight – Can be slow to generate enough heat – Requires very fine, dry tinder |
| Friction Methods (Bow Drill, Hand Drill, etc.) | – Uses only natural materials – Always available in nature – Satisfying to master the skill | – Very difficult and labor-intensive – Requires extensive practice to use reliably – Challenging in wet conditions |
| Battery and Steel Wool | – Uses common items that may be available – Works quickly – Effective even in windy conditions | – Batteries will drain with repeated use – Steel wool susceptible to rust if stored long-term – Requires additional tinder to grow fire |
As you can see, each method has its own strengths and weaknesses. Including multiple fire-starting tools in your kit and practicing a variety of techniques will provide you with the most options in a survival situation. Redundancy is key, as is gaining hands-on experience with your chosen methods in various conditions. That way, you’ll be well-prepared to get a fire going no matter what challenges you face.
Common Mistakes and How to Avoid Them
Starting a fire without matches or a lighter is a skill that takes practice, and it’s easy to make mistakes along the way. Here are some common ones to avoid:
Using damp or green wood: This is a common mistake that can prevent your fire from starting or cause it to smoke excessively. Always use dry wood for your tinder, kindling, and fuel.
Not preparing enough tinder or kindling: It’s easy to underestimate how much tinder or kindling you’ll need. Always prepare more than you think you’ll need to ensure your fire gets off to a good start.
Not shielding your fire from the wind: Wind can quickly extinguish your initial spark or blow your fire out of control. Always shield your fire when you’re getting it started and choose a location that’s protected from the wind.
Nurturing the Spark: Tips for Growing Your Fire
Once you’ve successfully generated an initial spark, your work is just beginning. Transforming that fragile ember into a robust, sustainable fire requires care and technique. Here are some key tips:
Prepare the Fire Lay
Before attempting to light your tinder, make sure you have your complete fire structure ready to go. Lay out your kindling and fuel in a way that will allow plenty of airflow to reach the heart of the fire. A teepee or lean-to style lay often works well. Having this ready means you can quickly add successive layers of fuel once the tinder ignites.
Shelter the Ember
Especially in windy conditions, your tiny glowing ember can easily be blown out. Cup your hands around it to provide protection from gusts as you bring it to your waiting tinder bundle. You can also use your body or natural features like boulders to block the breeze.
Blow Gently
While you need to introduce extra oxygen to turn the spark into a flame, blowing too hard will have the opposite effect. Exhale slowly and steadily, aiming your breath at the base of the ember. Imagine you’re trying to make a coal glow red hot rather than extinguish a candle.
Add Tinder Gradually
Once you transfer the ember to your tinder bundle, don’t smother it by cramming in too much material at once. Let the first few wisps catch fully, then add more a bit at a time. This allows the combustion to build momentum and heat up rather than being overwhelmed by new, unburned fuel.
Scale Up Slowly
The same principle applies as you transition from tinder to kindling to larger fuel. Add new material in order of increasing size, letting each phase establish itself before moving to the next. Trying to put a thick branch on a newly lit tinder bundle will just crush your fledgling fire.
Maintain Airflow
As the structure grows, make sure to leave spaces between the fuel. Avoid over-compressing the materials or letting the fire collapse in on itself. Well-placed sticks can prop up the lay, allowing air to reach the center. Blowing or fanning can help revive a fire that’s choking itself out.
Be Patient
Resist the urge to prod, poke, or rearrange your fire too much, especially in the early stages. Let the natural process of combustion unfold, intervening only when necessary to keep the air moving and add fuel. With time and practice, you’ll develop a feel for when the fire has stabilized enough to be adjusted.
Remember, no matter how skilled you become, not every spark will grow into a successful fire. Many factors like moisture, wind, and fuel quality are outside your control. But by applying these techniques consistently, you’ll greatly increase your odds of nurturing those first glowing embers into the warm, bright campfire you’re envisioning. Keep at it!
Final Thoughts
Starting a fire without matches or a lighter is a skill that can be incredibly useful, especially in survival situations.
As we’ve explored in this article, numerous methods exist, each with unique advantages and challenges. The possibilities are vast, from traditional friction-based techniques like using a spindle and fireboard, a bow drill, or a fire plow to more unconventional methods like using a battery and steel wool, a soda can and chocolate bar, or even a lens to focus sunlight.
Remember, the key to successful fire-starting lies in understanding the basic principles of heat, fuel, and oxygen and being prepared with the right materials.
Whether you’re an avid camper, a survival enthusiast, or someone who enjoys the great outdoors, mastering these techniques can be a rewarding experience and a valuable addition to your skill set.
However, practicing these methods in a safe and controlled environment is important before you actually need to use them. Fire is a powerful tool but can also be dangerous if not handled properly. Always prioritize safety and respect the power of nature.
We hope this guide has been informative and helpful. Keep practicing, stay prepared, and happy fire-starting!
FAQs
What are the essential elements required to start a fire?
To start a fire, you need three essential elements: heat, fuel, and oxygen. These elements are necessary to ignite and maintain the fire. The heat can be generated through various methods, fuel can be any combustible material, and oxygen is available in the air.
What materials are needed to start a fire without matches?
Starting a fire without matches or a lighter requires an ignition source, tinder, and other combustible materials. The ignition source can be anything from friction-based methods to using a battery and steel wool. Tinder can be dry, flammable grass, pine needles, moss, or plant fiber. Kindling and larger chunks of dry wood serve as fuel.
What is the role of friction in starting a fire?
Friction plays a crucial role in starting a fire as it generates heat. Techniques like spindles, fireboard, or bow drills rely on friction. The spindle is spun against the fireboard, and the friction between the two creates sparks or embers, which can be nurtured into a flame.
How can a battery and steel wool be used to start a fire?
A battery and steel wool can be used to start a fire by creating a current through the small steel wires in the wool. This current heats up and ignites the steel wool. The glowing steel wool is then transferred to a tinder nest to nurture the flame.
Can a lens be used to start a fire?
Yes, a lens can be used to start a fire by focusing sunlight onto a tinder nest. This method, however, is dependent on the availability of sunlight. Different types of lenses, including eyeglasses, binocular lenses, and magnifying glasses, can be used for this purpose.
What is a fire piston and how does it work?
A fire piston is a simple device that has been used for thousands of years to start fires. It uses the principle of hot air and tinder to ignite a flame. When the piston is quickly pushed into the cylinder, the air inside gets compressed and heats up, igniting the tinder.
What is a Ferro Rod and how is it used to start a fire?
A Ferro Rod, or Ferrocerium Rod, is a fire-starting tool that produces sparks when struck against a rough surface or a blade. These sparks are then used to ignite a tinder nest. The Ferro Rod is a reliable tool for starting fires, especially in adverse weather conditions.
How can a magnifying glass be used to start a fire?
A magnifying glass can be used to start a fire by focusing sunlight onto a tinder nest. The concentrated beam of light generates heat, causing the tinder to ignite. This method requires a clear, sunny day to be effective.
What is a tinder nest, and how do you use it to start a fire?
A tinder nest is a collection of dry, easily combustible materials like grass, pine needles, or plant fiber. It plays a vital role in starting a fire as it helps nurture the sparks or embers into a flame. Once the tinder nest catches fire, larger pieces of kindling are added to build up the fire.
Can a fire really be started using a soda can and a chocolate bar?
Yes, a fire can be started using a soda can and a chocolate bar. The chocolate is used to polish the bottom of the soda can to make it shine like a mirror. This polished surface can then be angled towards the sun to create a highly focused beam of light, which can be used to ignite a tinder nest.
What is a bow drill?
A bow drill is a traditional fire-starting tool that uses the principle of friction to generate heat. The bow is used to rotate a spindle against a fireboard. The friction between the spindle and the fireboard creates sparks or embers, which can then be used to ignite a tinder nest. The bow drill technique allows for maintaining constant pressure and speed, making it easier to start a fire.



Ty very informative!!